Monday, February 17, 2014

How to Remove a Wall Border


We downsized this summer and moved into a smaller home with more "character."  One of the bedrooms had been a little boy's and was painted in a blue and brown - not really what I wanted for my new office.  I've never really had an office but since I quit my day job (and gained my 24/7 job - more on that later!), I wanted it to look nice.  Here is was before:


So I began priming the walls.  I don't really like to prime, but it does save time. I am pretty short, so I didn't really notice anything unusual on these walls....until I started to prime along the ceiling.

Guess what I found?

Okay, I know you know. YES, a wall border that had been PAINTED over. Ugh!

Mind you, this wasn't the only room were were painting before we moved in. I wasn't expecting this "hiccup."


It was on three out of the four wall.  I started to scrape and it easily came off.

Wrong.

The top layer easily cam off. It left the fuzzy stuff underneath.  No problem.

 I've had enough experience upcycling old vintage items and painting them that I knew the magic potion....Believe it or not...


No, Lysol isn't paying me for this post. However, if you want to tell them about finding their product here..yeah, I'd love to have a free case of this stuff! LOL. Anyway...

You can also buy it here:
   

SO, I easily scraped/peeled off the top layer, then gave the fuzzy stuff a soaking with this Lysol KITCHEN cleaner. For some reason, it has to be the kitchen cleaner. This stuff takes off soap scum, price tag sticky residue, grease, etc.

By the time I finished spraying, I headed back to where I started with a scraper...

Yepper, it scraped right off. Really no elbow grease required - because I am a wimp.

Spraying it on - see it's wet.

 After soaking for a few minutes, the fuzzy stuff came right off!


I bet you feel like you are seeing some kind of magic trick or that I scrubbed really hard.  Seriously, I am five feet tall with no leverage or muscle! Ha! It was amazing!

Next, I was able to finish priming.


It's now dark outside and no overhead light! 
But once I'm on a roll (no pun intended), I don't like to stop!

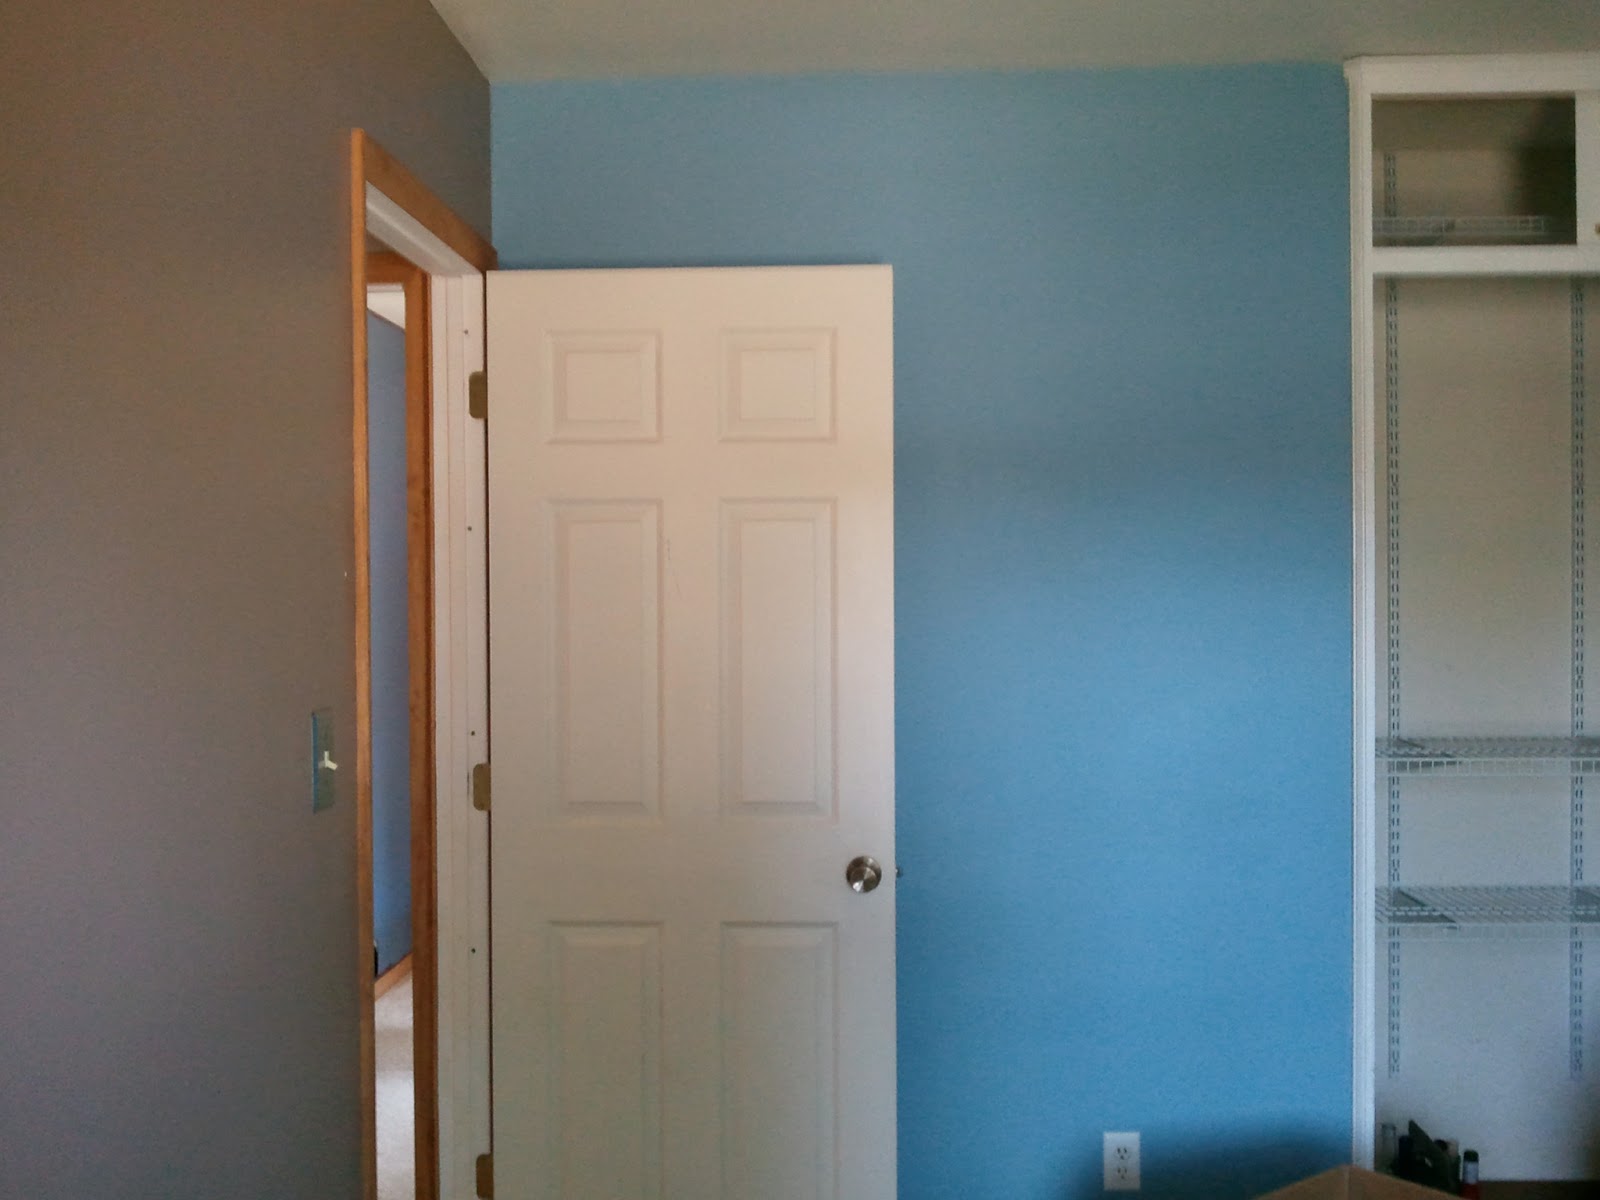
The results are a nice light gray.

And best of all, NO BORDER!

Click HERE to print your own wall decor in any size!


Tuesday, February 11, 2014

DIY Bathroom Decor - Cheap and Easy!

So you are looking for some bathroom decor?  You want to DO IT YOURSELF?   Well, this little project should be easy for you!


Here is what you will need:  
  • Simple Ceramic Toothbrush Holder and Dispenser (local discount store)
  • Gloss Enamel Paints (any brand)
  • Liner Brush
  • Round Brush
  • Cotton Ball
  • Rubbing Alcohol  (Other Alcohol - if it is the weekend)
  • Spouncers
  • Styrofoam Plate  (sorry environment, these work best.  But I do reuse them over and over. My kids like to peel the paint off!)
  • Sharpie - Extra Fine Point


Use the Sharpie to draw on your design.  I had to erase this a few times - hence, the rubbing alcohol and cotton ball with ink on it!

 This is an inexpensive liner brush that came three? in a pack. 
I work from right to left because I am left handed.

The words are almost done!

My secret to quick projects?  An old hair dryer!
This one has been around a LONG time!

Now for the Spouncers! (Who thought of that word?!)

I use the smallest ones for this project.

Dip it in your paint.

Too much!!!

"Spounce" some off.

I set the Spouncer on and kind of wiggle it.  Very little spouncing going on here!

I leave mine sitting in the paint like this so they don't dry out.

Just randomly add your colors.  This customer wanted green, yellow and orange.
Oh , sorry about the wooden snowman graveyard in the the background. We have had it for years, originally bought from Oriental Trading.  It's really not a graveyard, more like an elf workshop - ready to be glued again!

I'm not going to put my Spouncers in water yet - but I am done with them for now.  
Now I will use a round brush - this one is OLD.

A loaded round brush makes nice dots!

Oh, cwap, I got my arm in it!

The beauty with painting is that almost everything can be fixed.
Back to the alcohol (rubbing that is) and cotton ball.

Good thing I didn't wash my Spouncers!

Almost fixed...

There we go!

Done - now we wait for 48 hours.

Still waiting....

48 hours later they go on a cookie sheet. 
DO NOT start the oven yet.
Take off the plastic dispenser.
Plastic doesn't like ovens - just ceramic.

Put them in.
Okay, now start the oven.

Set it at 325 degrees.

The items will warm slowly with the oven.

Set the timer for 30 minutes.

10 minutes later - PANIC
I forgot to take off the rubber stopper thingy!

Okay, I saved it in time!  This is on the toothbrush holder so you can wash it.

ALL Done!


I also created a sign for her as a bonus - wait, I just remembered I haven't emailed it to her yet!  


Please take a moment to browse my stores to the right.

Or click HERE for more printable art signs!

When you purchase a printable art sign from me and send me a PHOTO of it hanging in your home, I will then send you FREE sign from my shop!  Check it out!